Thinking about making your own custom Funko Pop? I always make them for my own book characters to share with my fans and readers. But you can apply my method to pretty much any fandom and whip up your own collection of one-of-a-kind Pops! Follow along to see how I made my recent Funko of Dianna from my Dark Tides series.
What is a Custom Funko Pop?
You can create any character or creature from any fandom, even your own creative works! Just find existing Funkos with the look and certain details you need. You can mix-n-match the bodies and heads, add your own embellishments, and paint with craft paints.
Why I’m Making It
I’m a Bestselling Fantasy Romance author and have been making custom Funkos of my own book characters for my readers. I recently ran a fun Kickstarter event where we made a special edition omnibus of my Dark Tides series (time traveling pirates). One of the rewards was a custom Funko Pop of the main character, Dianna.
So, I thought: why not document the process to share with everyone? It’s one of my favorite hobbies and really helps with my anxiety because it’s such as soothing thing to do that keeps my hands (and brain) busy.
Dos and Don’ts
- Don’t make custom Funkos based on licensed materials or characters without legal permission if you’re planning to sell them.
- Don’t try and paint the skin with a brush if you’re looking to change the skin color. I’ve tried a thousand different brushes, and they all leave brush strokes. Use a nice, even coat of spray paint instead.
- Do have fun!
What You’ll Need
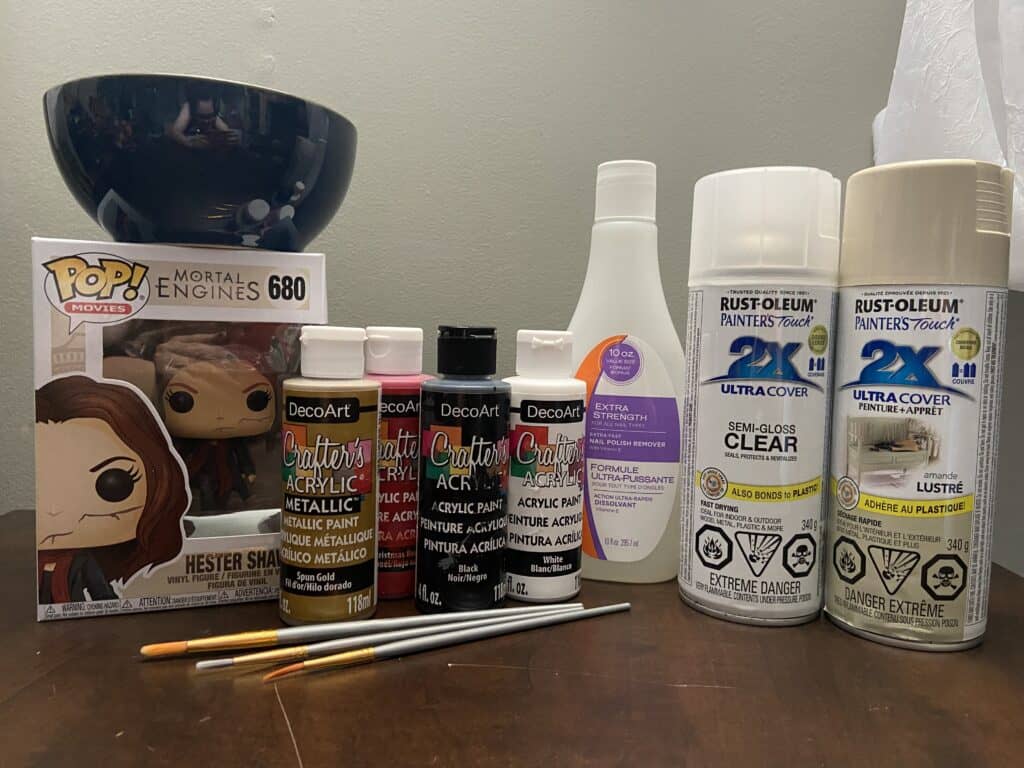
- Funkos of your choice (I got lucky and found a Pop that had the head and body I needed. I used the Hot Topic version of Hester Shaw from the Mortal Engines series)
- Acrylic craft paints in colors you need (I used red, black, gold, brown, and white)
- Flesh tone spray paint (optional)
- Wide paint brush
- Fine tip paint brush
- Bowl of hot water (to remove the head)
- Acrylic spray sealer
- Acetone (to remove mistakes)
How to Make a Custom Funko Pop
Don’t be intimidated; they’re easier than you think! Plus, if you mess up, a little bit of acetone will set you back on track.
Step One: Remove Head
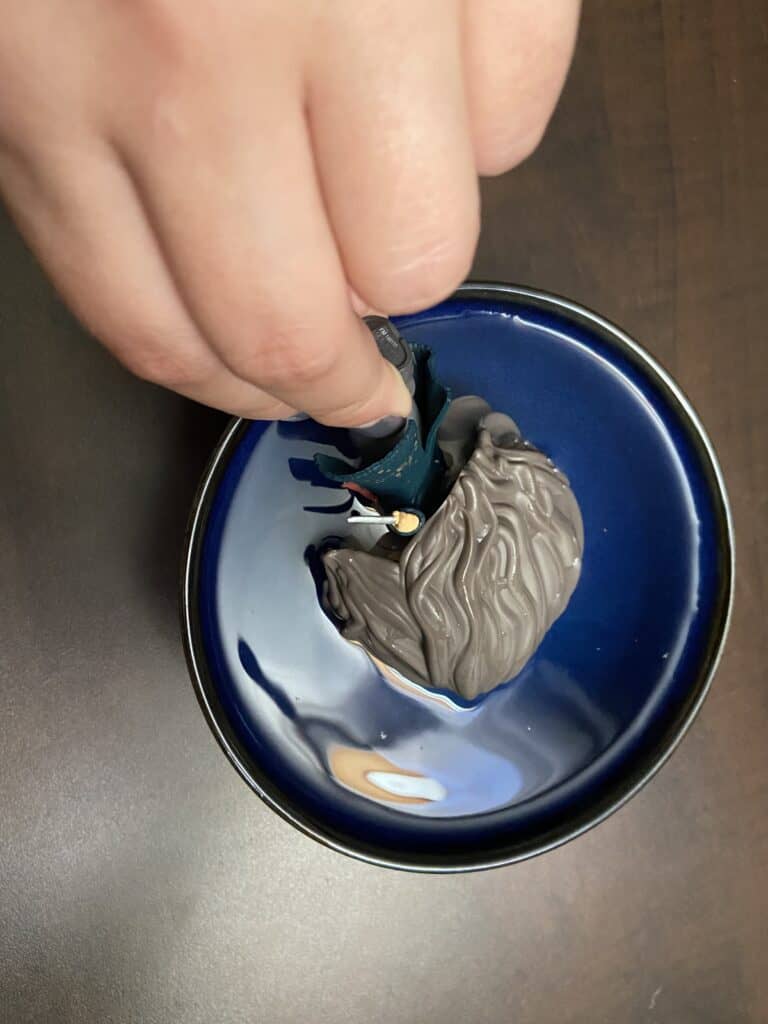
You’ll need to do this if you’re swapping out the head for another. But I always do it regardless of if I keep the head because I find it easier to paint both the head and body separately form each other so I can access hard to reach spots.
Dip the Pop into the hot water, so the next is submerged.
Wait 1-2 minutes and remove from the water.
The head should pop right off with ease.
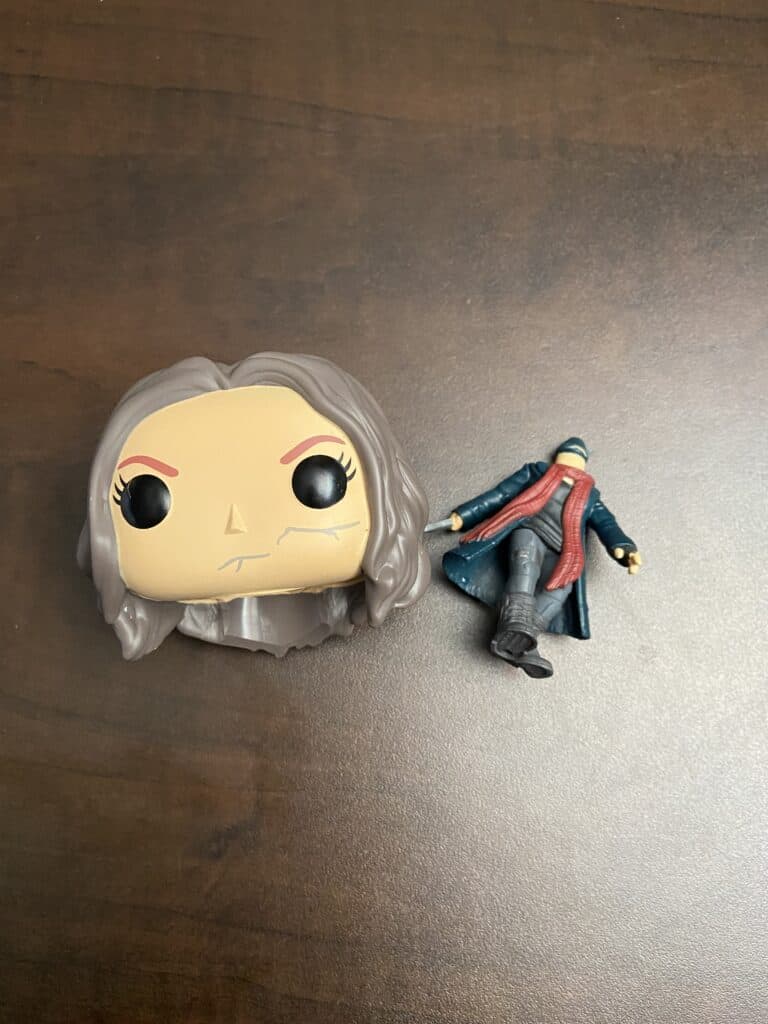
Step Two: Spray Paint Face
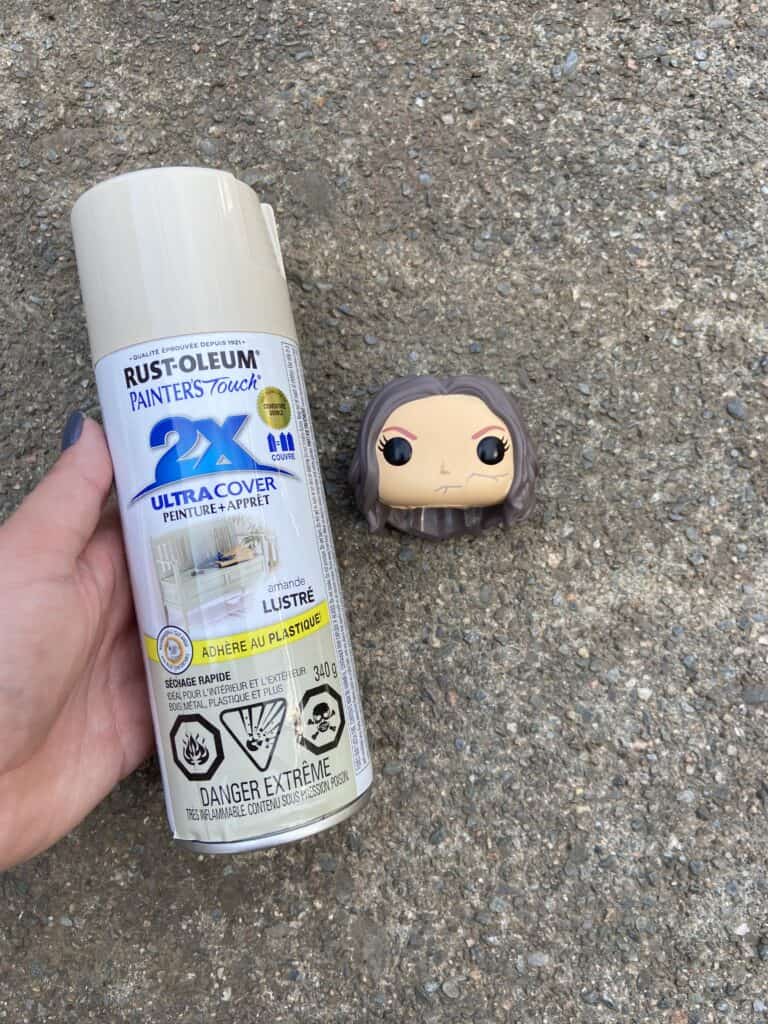
Hester Shaw’s skin tone would have been perfect, but the Funko features a little scar on the cheek which I don’t need. I tried to remove it with paint remover and acetone, but it didn’t produce the results I needed.
So, I opted for a fresh coat and a fun color instead! I couldn’t find a good flesh-toned spray paint in acrylic, so I went outside the box and chose a cool grey to play up the whole Fantasy vibe.
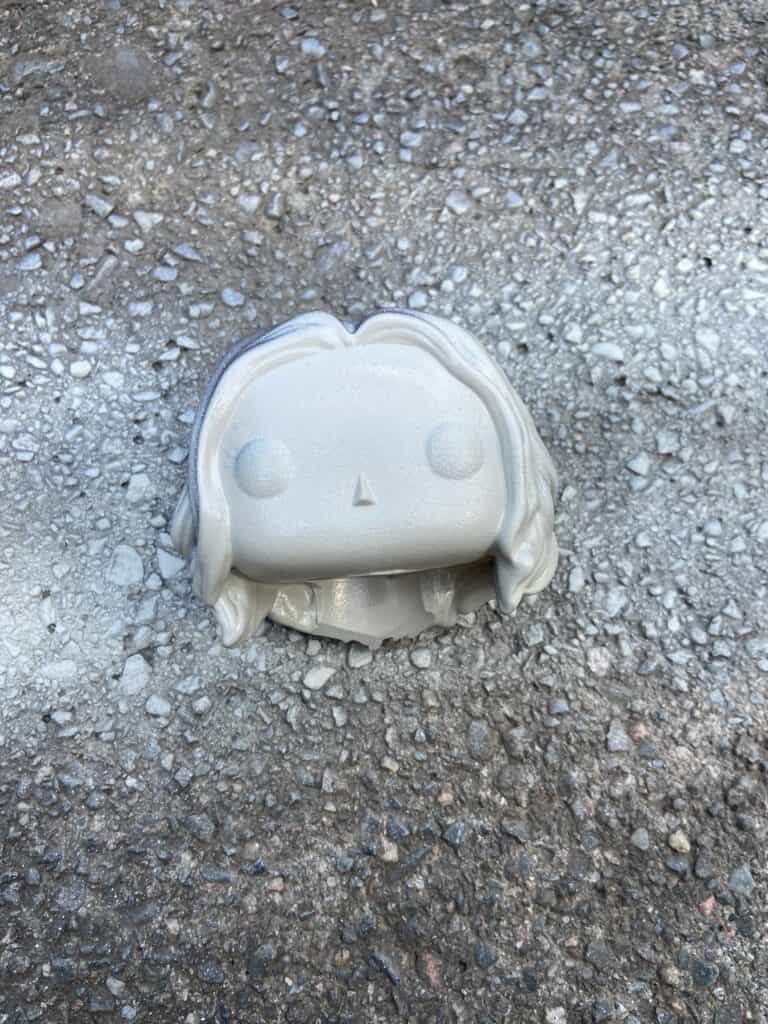
Do this step outside, even if you’re using acrylic spray paint. Give it a good shake and lightly coat the face until you get the coverage you want. Don’t worry about overspray because you’ll be painting the hair and facial features later
Step Three: Get Paints Ready
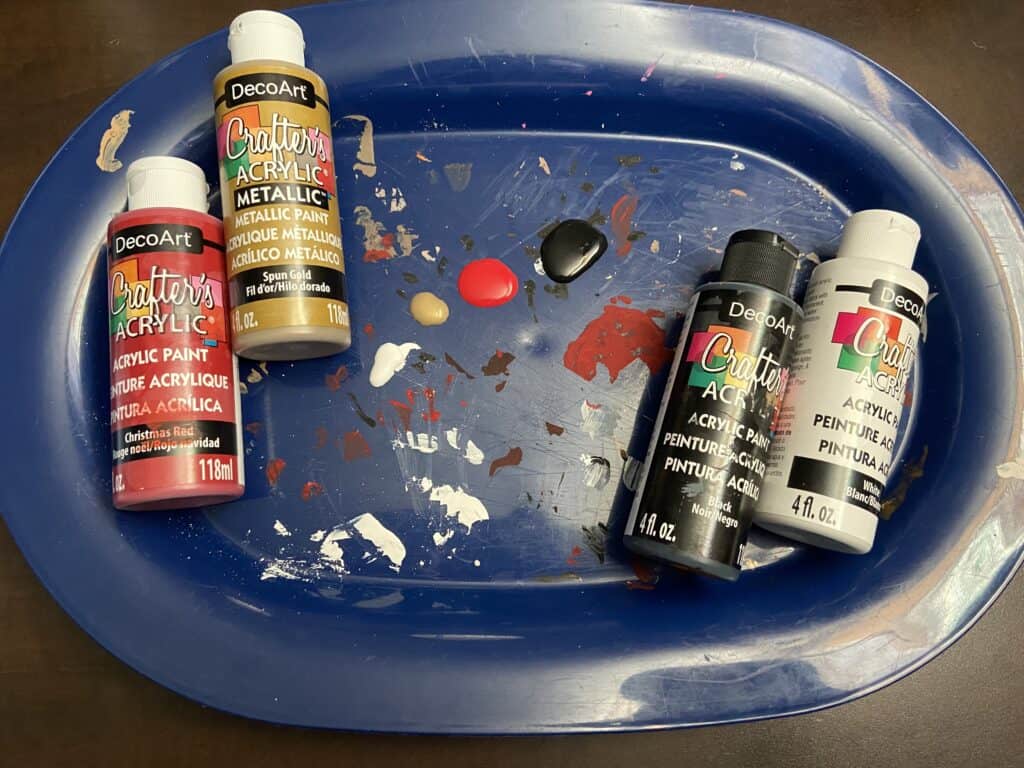
While you’re waiting for the head to dry (about an hour) put a few drops of the acrylic paints you’ll be using on a tray. This is for the body.
Step Four: Paint the Body
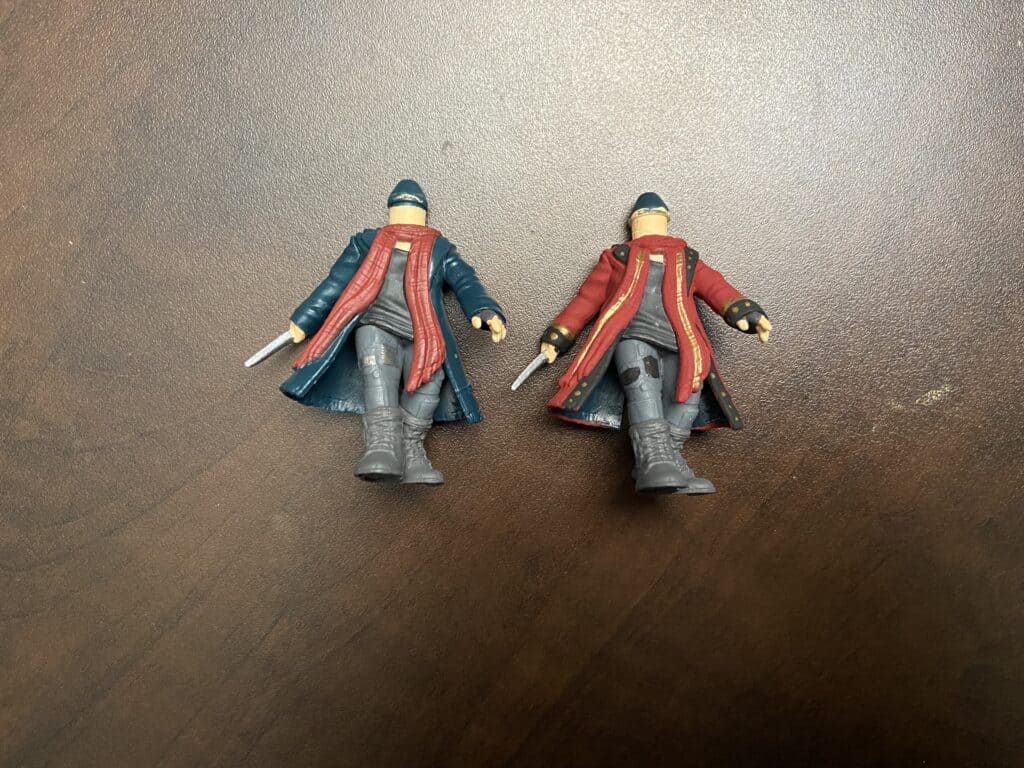
This is the most tedious step because it requires several coats and drying in between. I used three coats in total for Dianna’s iconic red jacket.
With the fine tips, add tiny details like I did with the gold.
Step Five: Paint the Head
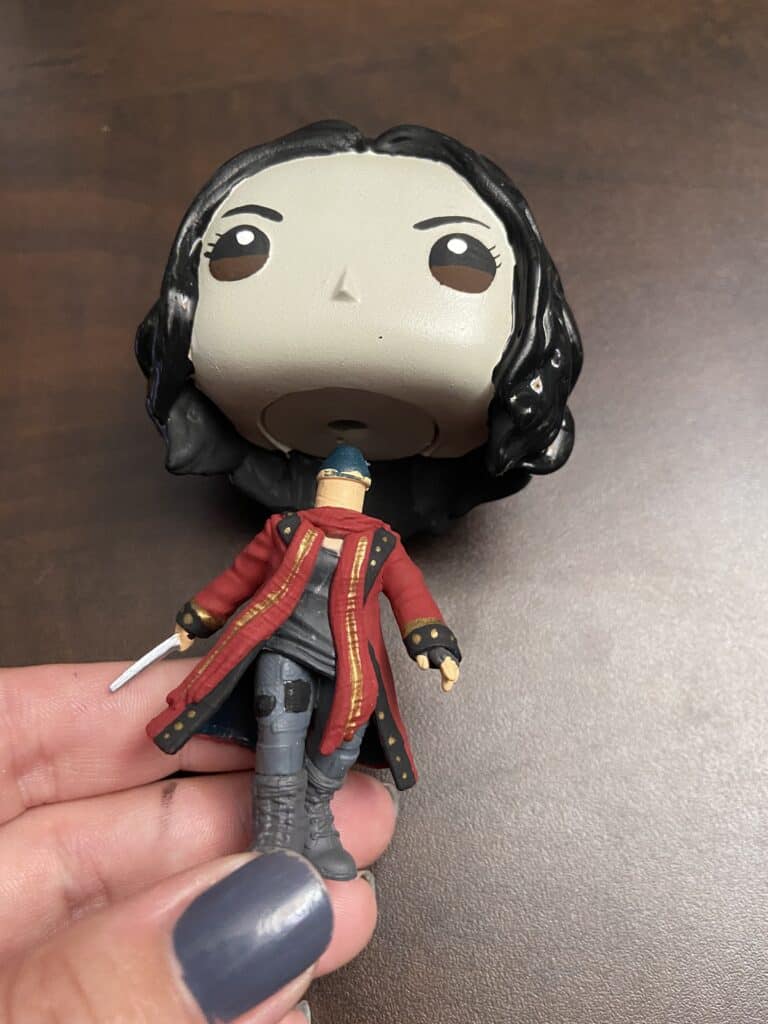
Once the spray paint is dry, start painting the head. I find the wide edge brushes to be perfect for doing hair because you get lots of coverage, but they can also get into small areas.
With the fine tip brushes, paint the eyes black and draw on the brows. Once that’s dry (about 10-15 mins), paint the lower half of the eyes the eye color you need. Then, add one dot of white paint for the pupil.
I used two good coats of black for the hair and just one coat for the finer details like her eyes and brows.
Note: if you didn’t need to spray paint the face, you could just skip ahead to painting the details.
Step Six: Attach Head

This is a tricky part. Don’t just shove it back in place. You’ll risk scratching your hard work. Instead, get another bowl of hot water and carefully dip the neck in it for 1-2 minutes. Then it should slip back into the head with ease.
Step Seven: Top Coat
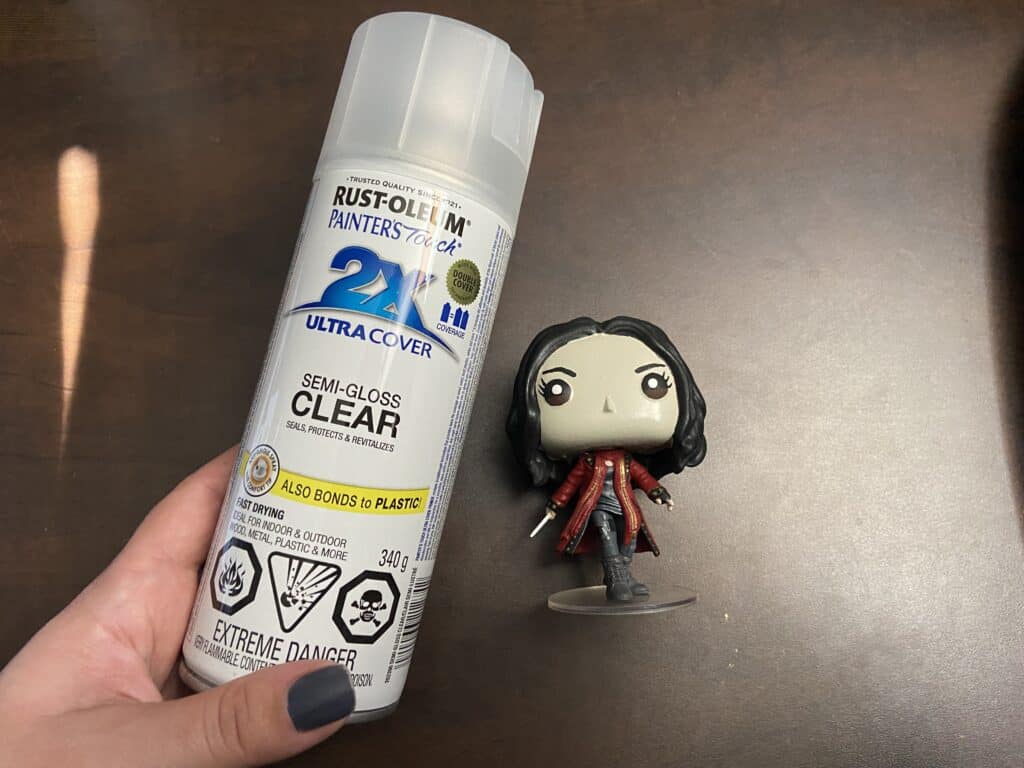
Now to seal the deal! Use an acrylic sealer or top coat like the one I used in the picture and light spritz the Funko’s surface. This gives it a nice shine but also protects the paint job from getting wrecked.
There You Have It!
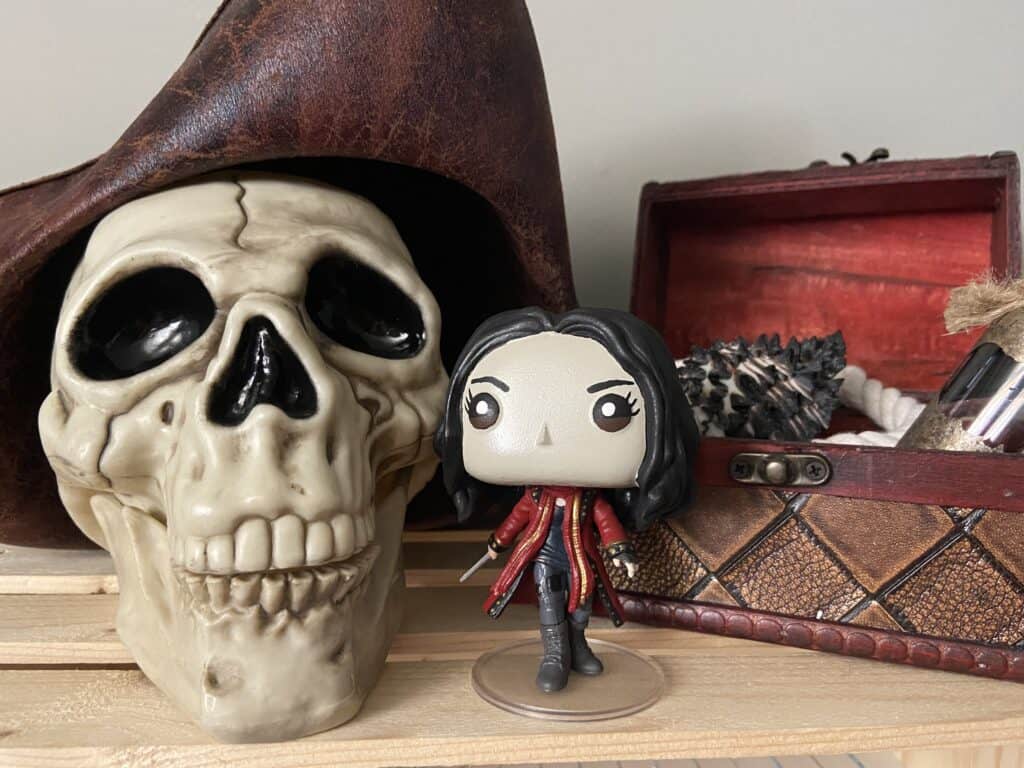
I hope you enjoyed my little tutorial. I love making custom Funkos and plan to do man more in the future. If you’d like to check out a quick video of Dianna’s final result, I posted one on Tiktok you can view here. Let me know if you’ve got any questions or share your own custom Funko creations! I’d love to see them!
FAQs
Question: What is the Best Paint to Paint Funko Pops?
Answer: Acrylic craft paint is the best to use. Any brand will do.
Question: How do I Remove the Head from a Funko Pop?
Answer: Submerge in hot water for just a few minutes, enough to soften the plastic. Then the neck plug should pop right out of the head.
Question: Can I Sell Custom Funko Pops?
Answer: Yes, you can sell custom Funko Pops if they’re characters that you own the rights to. However, licenced shops can also sell characters from popular fandom with the right permissions.
Continue reading:
The Office Funko Pop Guide for the Ultimate Fans and Collectors
Ultimate WandaVision Funko Pop Guide
- Ultimate Naruto Stickers Guide - February 8, 2023
- Best Naruto Headband Ideas - February 5, 2023
- Deck Your Phone Out with the Best Naruto Phone Cases - January 29, 2023

